Gaming
Zelda: Echoes of Wisdom – Suthorn Ruins Walkthrough
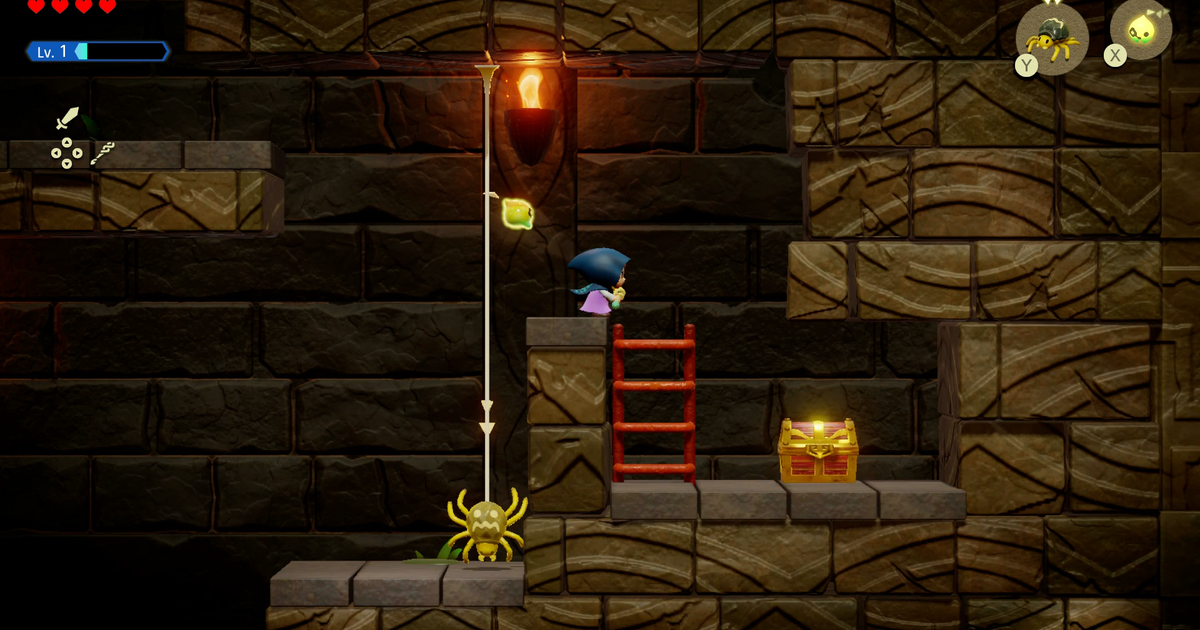
Exploring the Stilled Suthorn Ruins in Zelda: Echoes of Wisdom is no easy task. Princess Zelda must navigate the Stilled world and assist Tri in finding his friends to heal the rifts across Hyrule. The first major dungeon, Suthorn Ruins, presents challenges with puzzles and enemies on multiple floors.
With solutions to every puzzle and instructions on finding optional chests, here’s a guide to surviving the treacherous Suthorn Ruins.
Stilled Suthorn Forest
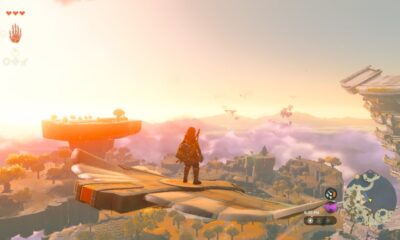
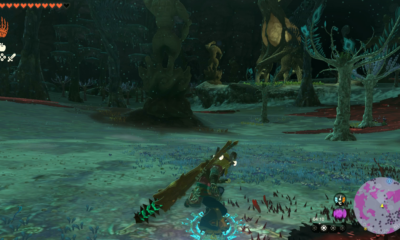
In the Stilled Suthorn Forest, the shattered landscape reveals voids between floating pieces. Navigate carefully by hopping over gaps and avoiding roaming black blobs that spawn monsters upon contact.
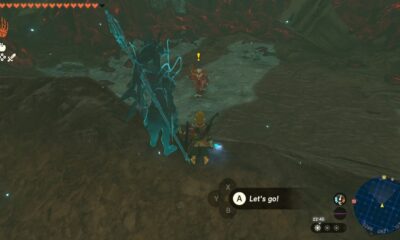
After rescuing a trapped villager, proceed through doors, defeat enemies, and collect treasures like rupees hidden in chests.
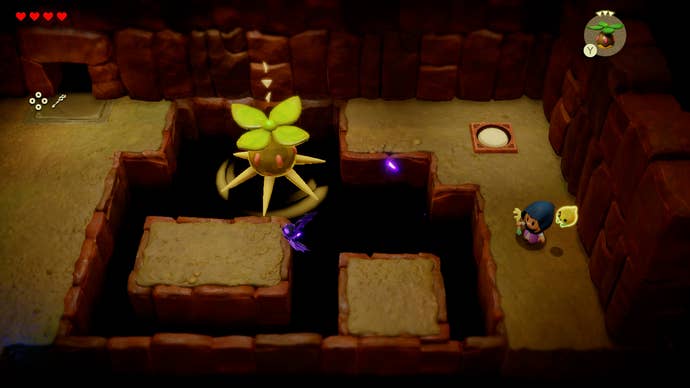
Explore the floating islands, defeat enemies, and collect more rupees before progressing to the next area.
Suthorn Ruins Walkthrough
Enter Suthorn Ruins, the first dungeon in Echoes of Wisdom, and face puzzles and combat challenges across two floors.
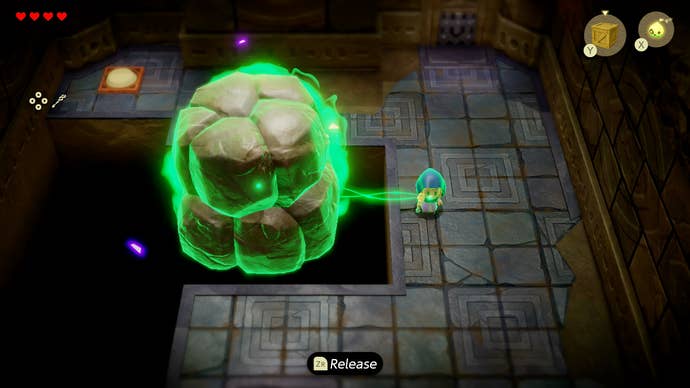
Solve puzzles, navigate rooms, and defeat enemies to progress through the dungeon. Use Tri’s abilities to move obstacles and access hidden areas.
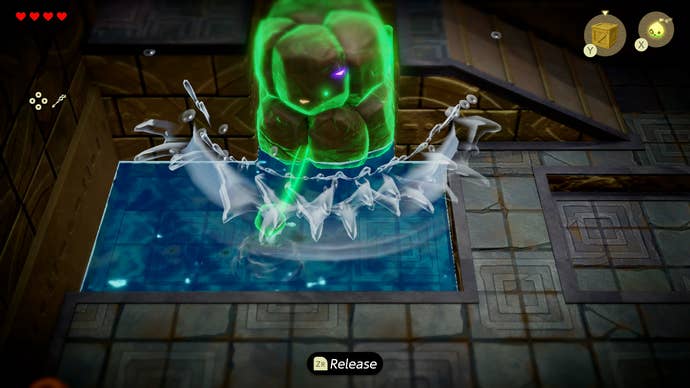
Discover hidden passages, obtain useful items like the dungeon map, and overcome obstacles to progress further into the dungeon.
Fortunately, both a Peahat and a sea urchin have the ability to pierce metal, so summon them in the Darknut’s path until he is defeated.
Learn his Echo, which will be useful due to his metallic resistance, then proceed left over the debris and descend the ladder in the room at the top of the stairs.
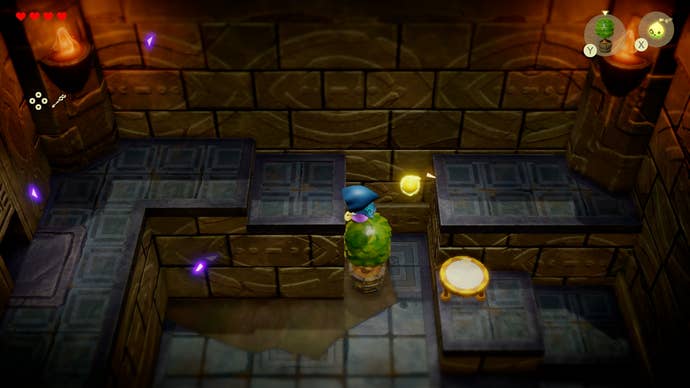
In the side-scrolling room, utilize your Ignizol echo to light the torches scattered throughout the chamber, starting with the one below you.
Next, either use a Strandtula to climb over the boulder obstructing your path or use Tri to move it out of the way.
Using a Carmadillo to break the boxes at the top of the ladder will grant you access to light the second torch with an Ignizol (use a trampoline if necessary to reach it).
After climbing the accessible ladder, activate the warp point at the top. To progress, cast Tri into the shield on one of the statues and pull it off by walking backwards, which will open the door.
In the subsequent room, defeat the shadowy Keese attacking you and uncover a hidden chest behind a high wall to your left. Create a bridge using a trampoline and a tall shrub to access it and open the chest.
Further into the room, you will encounter two Darknuts. You can either engage in combat with your own Darknut or summon a Peahat to easily defeat them.
At the top of the stairs, you will face the first boss.
Shadow Link boss battle
Confront the Echo of the legendary hero, Link, who is ready to challenge you in front of an ancient stone tablet. To defeat him, find a way around his shield and avoid his powerful melee attacks.
Utilize the Darknut to absorb Link’s hits and throw pots at his back to damage him. Avoid throwing pots from the front as they will be blocked by his shield.
If you run out of pots, summon a Moblin to distract Link and throw a rock at him from behind.
After defeating him, acquire the Swordfighter form which will aid you in uncovering the exit to the boss room and progressing through the dungeon.
Completing Suthorn Ruins
Descend the ladder from the boss room, smash the pots on your right, and use a Strandtula to cross the gap and retrieve the chest containing your first piece of equipment.
Move the large boulder using Tri and advance by climbing the ladder behind it.
In the final room, activate the warp point and enter the door locked by a golden key. Defeat the Deku Baba by using Tri to pull off their flower tops.
Proceed to the next room by defeating all three Deku Babas and open the chest containing a silver key by pulling off another flower with Tri.
Return to the previous room and enter the side room on the bottom left to complete Suthorn Ruins. To progress in the game, place Tri into the treasure chest and then move the chest onto the button on the far side of the room as shown in the screenshot. Use the silver key to unlock the door in the middle. Cast Tri into the statue on the right-hand side of the room and place it on the different colored square on the floor.
Head towards the moving platforms and ride behind them by holding R while tethered to the moving platform. Cross the gap and climb the ladder to reach the other side of the room. Hop onto the next platform, target the platform above using the ZL button, and ride it across to the next flat surface.
Continue climbing ladders and riding platforms until you reach the treasure chest. Climb the ladder out of the room after grabbing the chest. Drop a trampoline and a box in front of the raised platform with a button. Cast Tri into the statue on the right-hand side of the room and drag it across to the button using the objects to lift it high enough.
This action will drop the fence, allowing you to open the giant golden chest at the back of the room, which contains the key to the boss room. Make your way back to the golden door through the cleared rooms or warp back using the unlocked point. Behind the door awaits a challenging test: the Seismic Talus! Please rewrite this sentence for me. Could you please rephrase that?
-

 Breaking News2 years ago
Croatia to reintroduce compulsory military draft as regional tensions soar
-

 Destination1 year ago
Singapore Airlines CEO set to join board of Air India, BA News, BA
-

 Gadgets1 year ago
Supernatural Season 16 Revival News, Cast, Plot and Release Date
-

 Productivity2 years ago
How Your Contact Center Can Become A Customer Engagement Center
-

 Tech News2 years ago
Bangladeshi police agents accused of selling citizens’ personal information on Telegram
-

 Gadgets10 months ago
Google Pixel 9 Pro vs Samsung Galaxy S25 Ultra: Camera Comparison Review
-

 Gaming2 years ago
The Criterion Collection announces November 2024 releases, Seven Samurai 4K and more
-

 Gadgets10 months ago
Fallout Season 2 Potential Release Date, Cast, Plot and News


