Gaming
Zelda: Echoes of Wisdom Gerudo Sanctum walkthrough
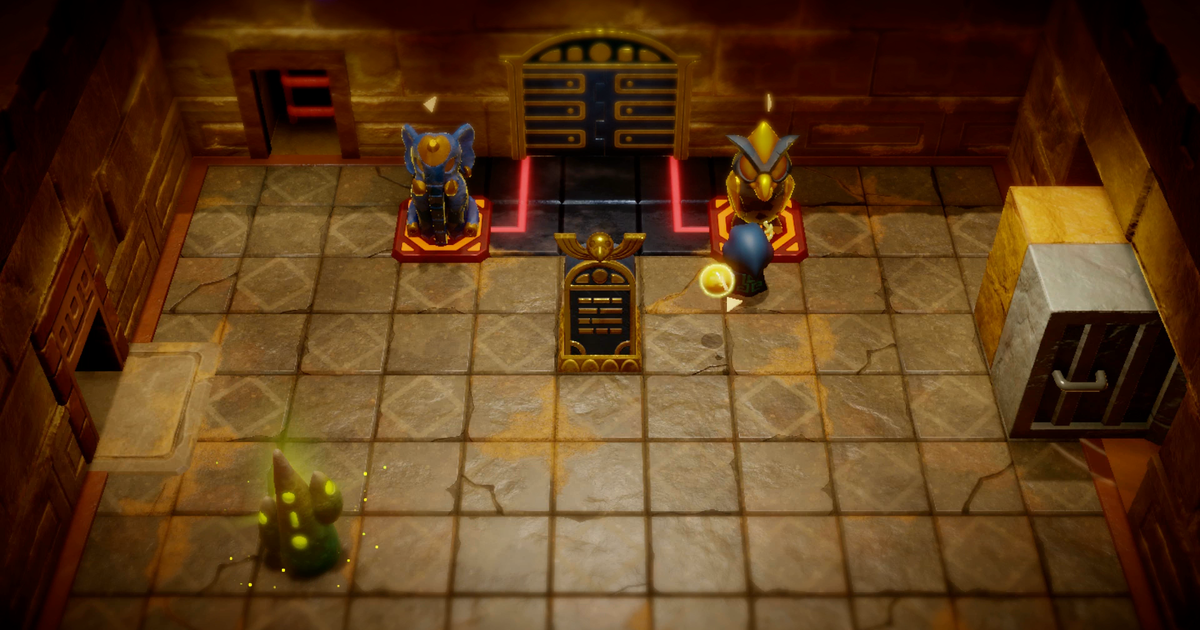
After winning the trust of Gerudo Town in Zelda: Echoes of Wisdom, Princess Zelda sets out to close the Gerudo Desert Rift and bring peace back to the troubled town.
However, inside the Stilled World she finds the sprawling Gerudo Sanctum, filled with puzzles, enemies and a confusing array of doors, ladders and secret passageways.
To heal the rift and continue her journey, she’ll have to call upon almost every type of magical Echo she’s amassed so far, before facing off against the toughest boss she’s battled yet!
Zelda: Echoes of Wisdom Gerudo Sanctum guide
Inside the Gerudo Sanctum, Zelda first needs to make her way through a dungeon to reach the rift. In the first room, fire a Tornando at the glowing eye switch, then proceed through the door.
Next, to open the key-locked door, head right then go through the middle door – you can bypass the wind jets by spinning through their beam.
In the next room, you come across a huge band of Pathblades – these are extremely useful Echoes because they’re fast, cheap to summon and made of metal, which means they can damage lots of different kinds of foes.
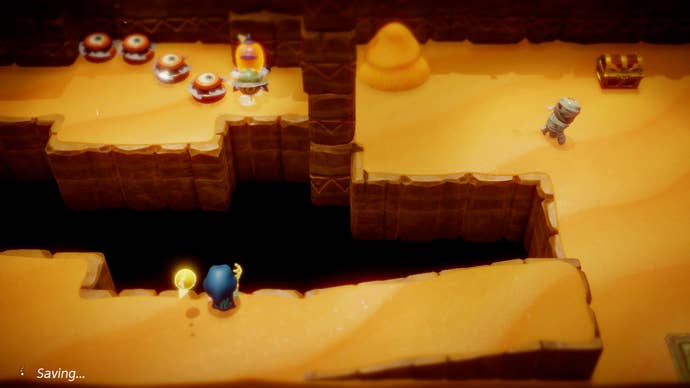
Defeat at least one Pathblade to collect its Echo, then cast a Tornando at the switch at the top of the room. This will cause a treasure chest to appear on the right, which contains the key. Grab the key, and a Gibdo echo if you wish, then go through the door at the bottom of the room.
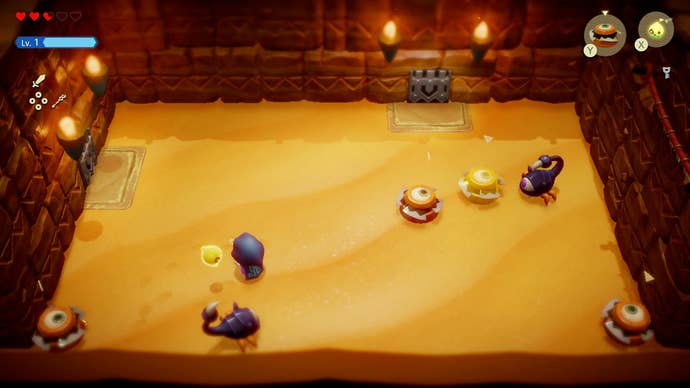
Here you need to defeat some scorpions, which is quick work for your new Pathblades. Defeating them lets you back into the main room with the key door, which you can now open.
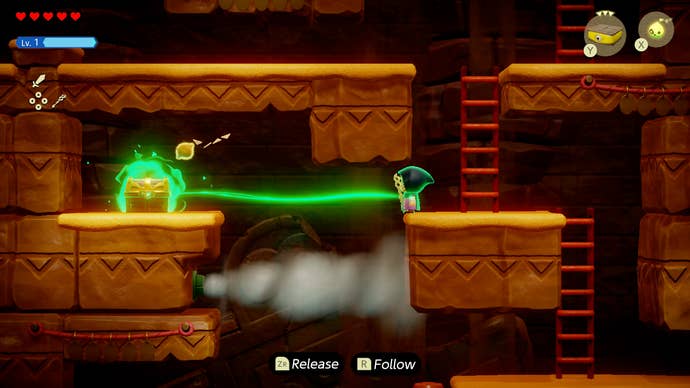
In the side-scrolling chamber, make your way downwards and use Tri to move the treasure chest over the side of the ledge. You can then drop it and grab the contents.
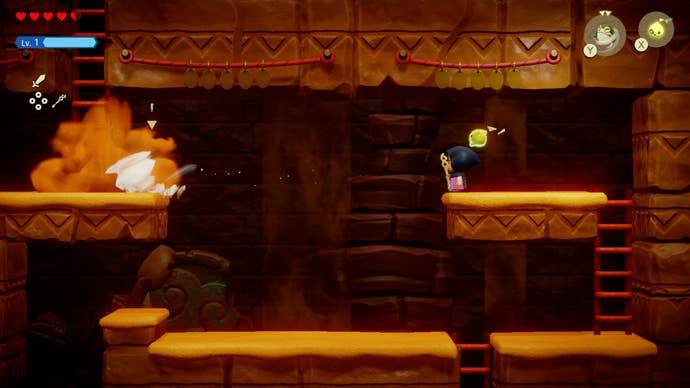
Make your way right and in this room you need to use a Tornando to blow the sand out of the way of the ladder leading up. You can then use a Platboom and trampoline to reach the high platform.
At the top, defeat the Lv 2 Gibdo with some Pathblades, then use Tri in the next room to pull the block out from underneath the sand. This will unlock the entrance to the rift and the Stilled Gerudo Sanctum.
Go back two screens, stand on the button, then drop down and climb up the first ladder you come to. Through the door you’ll find yourself back at the entrance and ready to enter the Sanctum proper on your right!
Stilled Gerudo Sanctum
Inside this new rift, go through the door in front of you, climb the ladder, then head right.
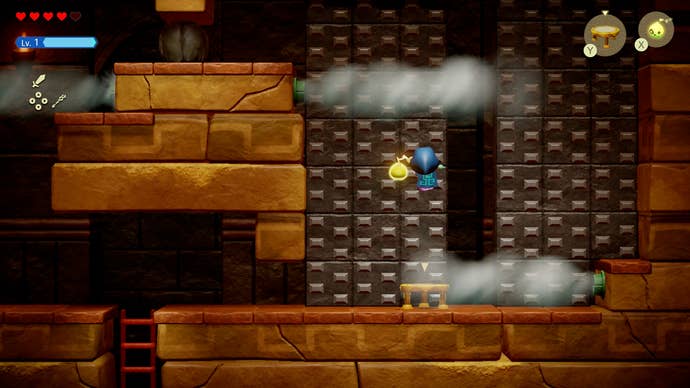
Climb the knobbled wall, avoiding the jets of wind trying to push you off. Then at top, push the boulder to block the jet of air from blowing across the ladder in front of you.
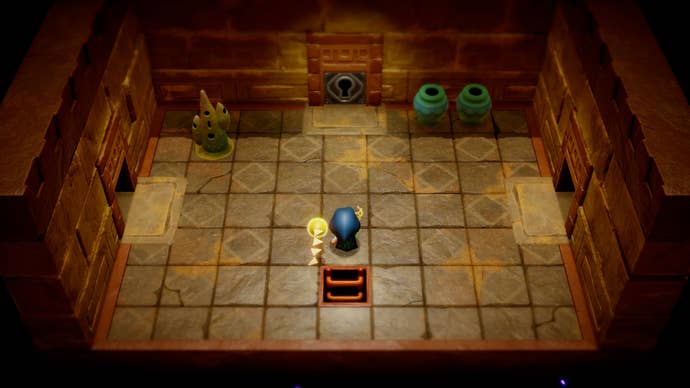
Climb these ladders and you should find yourself in front of a locked door which needs a key.
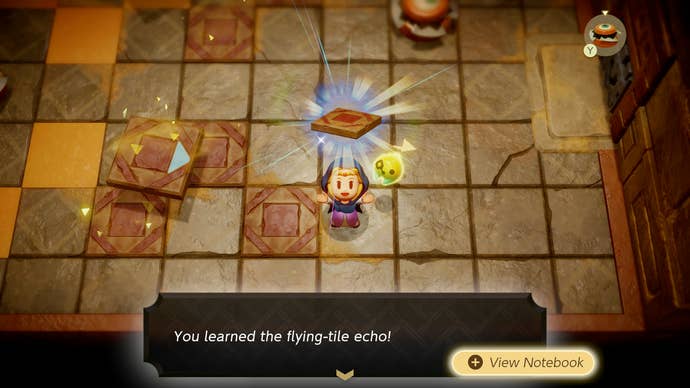
Now go left and you’ll find a room full of Flying Tiles – useful if you want to complete the Side Quest at the Oasis with the Gerudo who wants to see them!
With the Tiles defeated, go to the right.
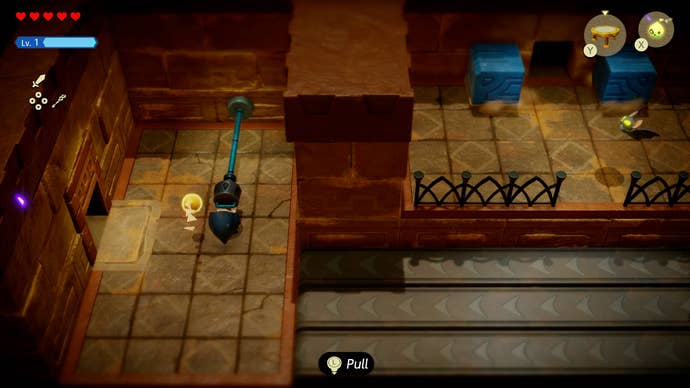
To advance here, you need to grab and pull the lever at the top of the room and run across the moving belt through the blue door before it closes. Then in the next room you need to press X to throw Tri into the stone door, then pull backwards to swing it around.
Now, grab the silver key from the chest inside and return to the locked door.
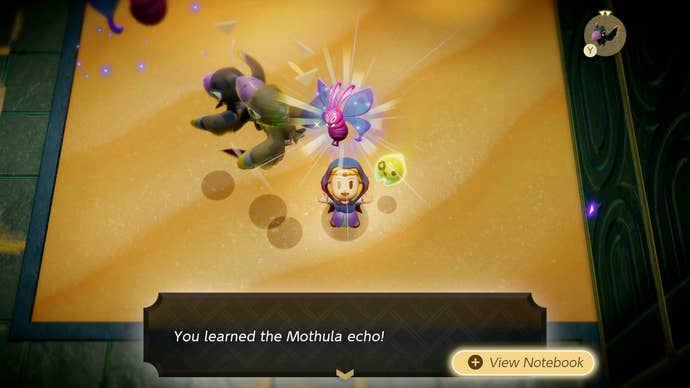
On the other side, make sure you grab the Snake Statue Echo, then keep going through the large echo.
You can acquire a valuable Mothula combat Echo in this area before proceeding through the left-hand door. Remember to leave the treasure chest on the other side for now, as you will need to use a Holmill later to access it. In the room with rolling belts and obstructing boxes, use a Tornado Echo to clear the boxes and proceed. Drop down the ladder to enter another side-scrolling room, where you can defeat Caromadillos with your Pathblade or Mothula. Solve the puzzle in the central room by placing two animal statues on the pressure plates as indicated by hidden tablets. Collect clues and items as you navigate through the Gerudo Sanctum, using different Echoes strategically to progress. This one needs yanking twice, but at the top you find another animal statue Echo to add to your collection – this time a Hawk.
Now return to the climbing wall, but instead of climbing up, head through the door into the Sanctum.
Inside you find another pull lever and blue sliding door that you need to run through. But this time, you need to make sure you’ve got a bridge to make it over the sand before you pull the lever – otherwise you won’t have enough time to slip past.
In the next room, defeat the Gibdo with your Pathblades and grab the Cat Statue Echo. Then use Tri to pull the statue away from the exit door. Activate the warp point on the other side, then continue down the corridor.
You then find yourself in a wide open chamber, forced to face off again against a shadow version of the hero Link. This time though, he’s armed with his trusty bow and arrow.
To defeat him, I cast Pathblades while in close proximity to him. Their metal spikes could block Link’s arrows from reaching me, while also distracting his attention. I could then aim another behind him to catch him for easy damage.
After a few hits Link splits into three and bounces around different corners of the arena. In this part of the fight, make sure you focus on just one shadow at a time, otherwise it will take a lot longer and be much more difficult to wear them all down.
Also, throughout this whole fight, remember to use your Swordfighter form for much more reliable damage. It’s easy to forget to use it when you’re saving it for a special occasion all of the time – that time is now!
Once he’s done and dusted, you’ll get access to the bow yourself in your Swordfighter form. This will be a vital tool at the end of the dungeon.
After Link, you arrive in another side-scrolling room. To get past the shadowy webbing, equip your Swordfighter form and shoot arrows across the gap. Then build a bed bridge to get across.
At the top of the ladder, there’s a warp point you can activate. But your main objective is to get around the flame jets to reach the chest on the other side of the room. To achieve this, summon a boulder Echo on one side of the belt to block the flames.
Then on the second belt, summon the boulder in the middle so you can move to either side of it to escape the two jets.
At the end of the belt you make another important discovery: the elephant statue you know you need to complete the statue puzzle in the middle of the Sanctum. Now you just need to find out what the other statue is.
Grab the small key from the chest, then warp back to the corridor before Link’s boss room. The key door is a couple of chambers down from this warp point.
Inside the key room, pull the rotating wall to reveal a passage.
Your goal in this room is to rotate the flame jet with Tri to light all of the braziers. Pull it once to light the first one at the bottom.
Next, go around to the bottom of the room and fire an Echo at the box that will smash it. The Flying Tile from elsewhere in the Sanctum will work nicely.
You can then pull the flame jet all the way around to light all three braziers. This will reveal the second tablet, which reads: “it rests its wings atop a tower. The statue room contains a hawk statue with sharp eyes and a strong beak. To open the locked door, place an elephant statue and a hawk statue on the pressure plates. This will reveal the boss door. Inside, use a metal wheel to rotate the wall and line it up with the red ring on the floor, sinking it into the ground. Rotate the wheel until the line matches the screenshot and use Tri to pull the ring from the left to solve the puzzle. This will reveal a hidden chest. Head to the boss door up the stairs and activate the warp point to face Morgrpyh. Please rewrite this sentence. Please rephrase this sentence.
-

 Breaking News2 years ago
Croatia to reintroduce compulsory military draft as regional tensions soar
-

 Destination1 year ago
Singapore Airlines CEO set to join board of Air India, BA News, BA
-

 Gadgets1 year ago
Supernatural Season 16 Revival News, Cast, Plot and Release Date
-

 Productivity2 years ago
How Your Contact Center Can Become A Customer Engagement Center
-

 Tech News2 years ago
Bangladeshi police agents accused of selling citizens’ personal information on Telegram
-

 Gadgets10 months ago
Google Pixel 9 Pro vs Samsung Galaxy S25 Ultra: Camera Comparison Review
-

 Gaming2 years ago
The Criterion Collection announces November 2024 releases, Seven Samurai 4K and more
-

 Gadgets10 months ago
Fallout Season 2 Potential Release Date, Cast, Plot and News


