
Gadgets
How to automate your home with a Raspberry Pi
Key Takeaways
- You can use a Raspberry Pi to automate your entire smart home without spending much.
- Home Assistant’s software simplifies setting up automations with various smart home devices.
- You can employ MQTT with Home Assistant to control devices efficiently from your Raspberry Pi.
The idea of a fully integrated smart home isn’t a dream of the past anymore — it’s a present opportunity. However, the only problem is that turning your home into a smart home can be expensive. You’ll likely need to upgrade multiple devices, grabbing the latest state-of-the-art technology to make sure your home is updated and running at its peak. This may mean upgrading security cameras, buying smart door locks, adding smart speakers if you don’t have them already, and adjusting your temperature with a smart thermostat.
If you realize that you probably will need to buy a hub as well to automate an entire setup, that’s another added expense you need to consider. Creating the right home ecosystem means enabling all your devices to communicate with one another via Matter or Thread technology. Or, you can buy all the same brand of technology in order to have them integrate better with one another. But there is a way to run your smart home without having to buy the latest editions of all of your devices.
Related
Best smart thermostat: Options from Nest, Ecobee, Amazon, and more
Smart thermostats can help you save money. Here are some of the best options and the features they offer.
You can run your entire smart home with the help of a Raspberry Pi. The single-board computer can be the smart home hub that you want and can work to make your smart home smarter. Read on to learn how to set one up .
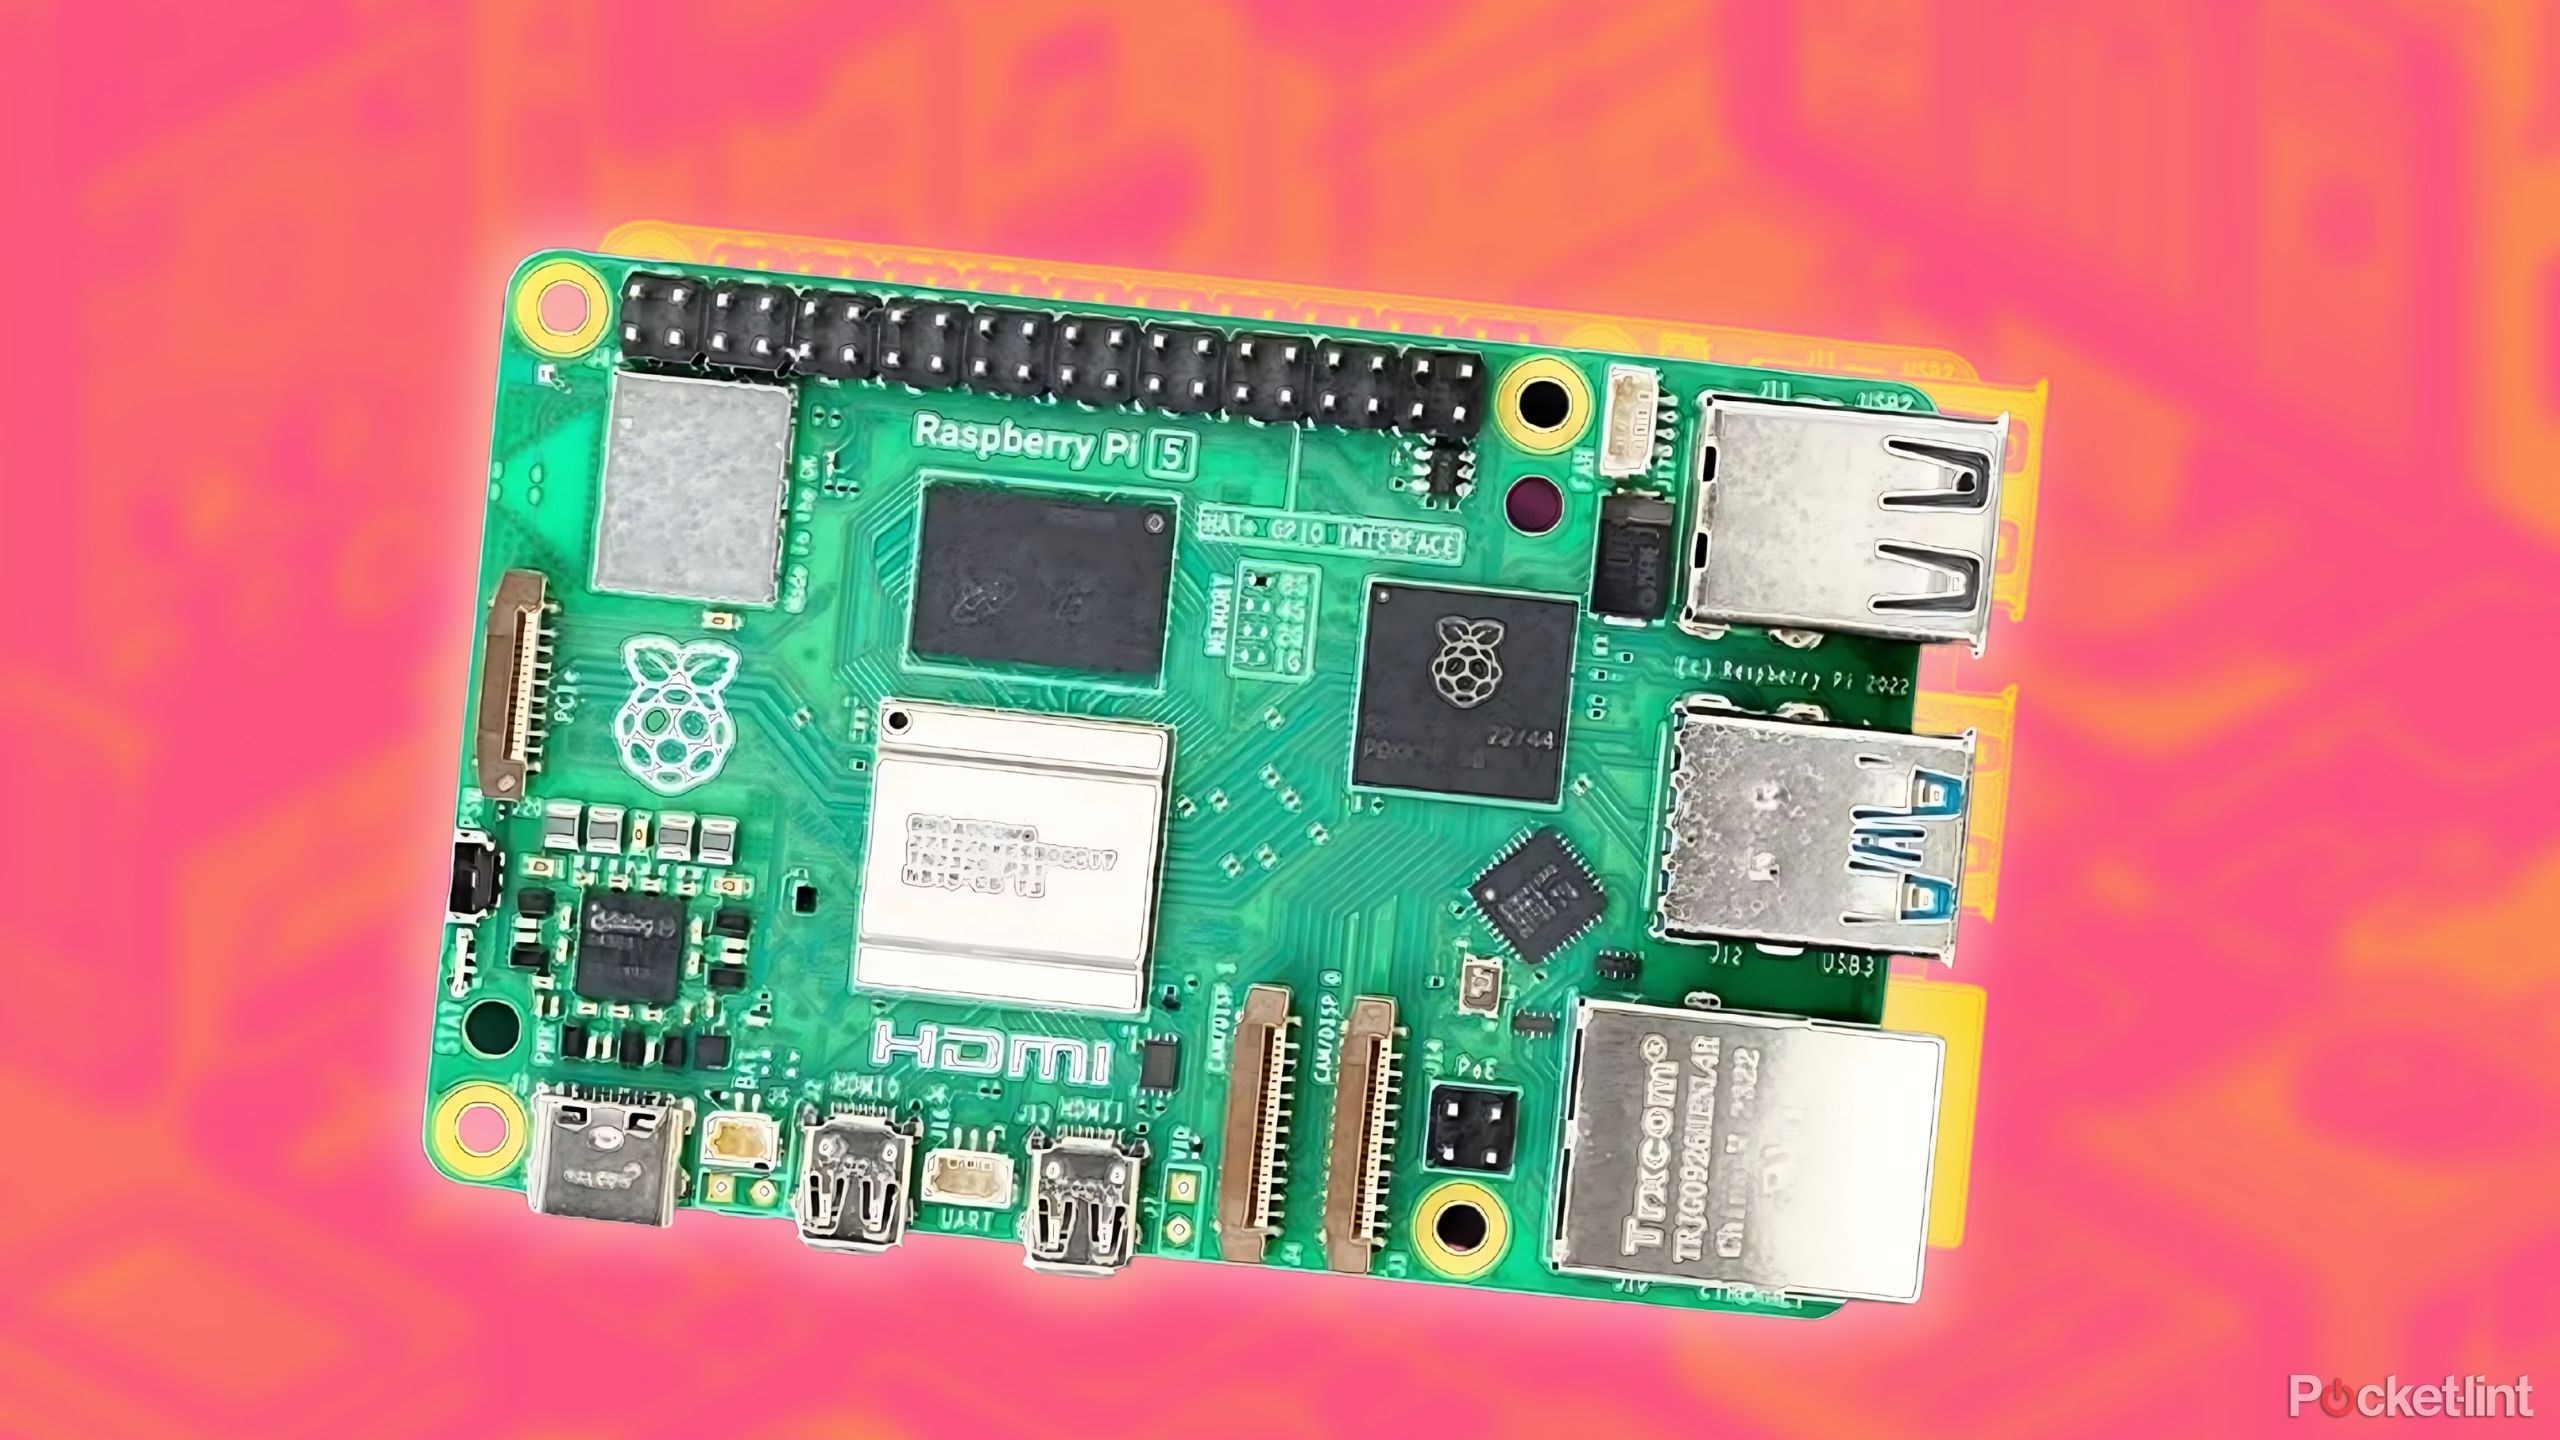
What is a Raspberry Pi?
This single-board computer can do so much

A Raspberry Pi is a single-board computer that is ideal for people who love tinkering with gadgets and are looking to build a computer of their own. Learning the inner workings of a computer is important for those interested in the topic and that starts with the motherboard.
A Raspberry Pi holds memory, the central processing unit, and I/O ports, which are all found inside a computer. Basically, you can use a Raspberry Pi as your own computer.

Related
My Raspberry Pi 5 is a delight, and I’m excited about all its future uses
The Raspberry Pi 5 has plenty of upgrades, but do you need all that extra horsepower? I put it to the test.
But, you can also use it to automate things such as lights, cameras, and other smart home devices. Finding the right Raspberry Pi kit is important, as you’ll want to make sure it has enough power to run the processes you need it to. There are many different Raspberry Pi kits and iterations, but they’re all built as single-board computers that can process data and carry out tasks similar to a laptop or a PC.
Raspberry Pi kits can vary in cost, depending on what comes with them. A starter kit may only cost you $100, but one that comes with more RAM and an upgraded CPU can set you back up to $400 or $500.
How to use it to run your smart home
The trick is Home Assistant

Nabu Casa / Pocket-lint
So, how exactly do you get your Raspberry Pi to automate your smart devices? Surely you need some kind of software to do it, right?
Enter Home Assistant. The open source home automation platform offers web support and an interface for many home ecosystems, like Zigbee, Z-Wave, Philips Hue, and more. It is constantly getting updated by users, so you’ll likely be able to find support for many of your smart home devices on it.
Installing Home Assistant on your Raspberry Pi is simple and free. You will need a Raspberry Pi 5 or 4, as they will have enough RAM to run the software, as well as a power supply, a microSD card, an Ethernet cable, and a laptop that has a SD card reader. Once you have that, the steps are as follows:
- Install Raspberry Pi OS using Rasperry Pi Imager.
- Open Raspberry Pi Imager and choose your Rasperry Pi.
- Under Choose OS, click Other specific-purpose OS, then Home assistants and home automation, then Home Assistant.
- Choose whichever Raspberry Pi you have in the drop down to download the proper version of Home Assistant.
- Insert a microSD card into your computer and overwrite it with writing the installer onto the SD card. Then eject the SD card.
- Plug in the SD card into Raspberry Pi and plug in an Ethernet cable while making sure it’s connected to the same network as your computer.
- Plug in Raspberry Pi’s power cord and start it up. Once it starts up and you enter the browser for your desktop system, input homeassistant.local:8123. It should show up within a minute or two.


5 Amazing Benefits Of Stacking Toy

Nordic founders are taking bigger swings, and it’s paying off

5 Apps To Speed Up Your Google TV Device

Trump threatens ABC News for reporter’s questions on his family business in Saudi Arabia, Khashoggi’s murder and Epstein files

The Best Sunglasses for Travel + Must Have Accessories » Local Adventurer » Travel Adventures in Las Vegas + World Wide

This Silent Habit Might Be Sabotaging Your Career

The Four Types of Happiness: Which One Are You Living In?

Halloween Events in London 2025

Join the peaceful demonstrations for democracy

Cute and Thankful Sayings for the People You Love

Croatia to reintroduce compulsory military draft as regional tensions soar

Singapore Airlines CEO set to join board of Air India, BA News, BA

Supernatural Season 16 Revival News, Cast, Plot and Release Date

How Your Contact Center Can Become A Customer Engagement Center

Bangladeshi police agents accused of selling citizens’ personal information on Telegram
Google Pixel 9 Pro vs Samsung Galaxy S25 Ultra: Camera Comparison Review

The Criterion Collection announces November 2024 releases, Seven Samurai 4K and more

Fallout Season 2 Potential Release Date, Cast, Plot and News

15 of the Best Trike & Tricycles Mums Recommend

17 Signs You Travel A Lot
-
 Breaking News2 years ago
Croatia to reintroduce compulsory military draft as regional tensions soar
-
 Destination1 year ago
Singapore Airlines CEO set to join board of Air India, BA News, BA
-
 Gadgets1 year ago
Supernatural Season 16 Revival News, Cast, Plot and Release Date
-
 Productivity2 years ago
How Your Contact Center Can Become A Customer Engagement Center
-
 Tech News2 years ago
Bangladeshi police agents accused of selling citizens’ personal information on Telegram
-

 Gadgets10 months ago
Google Pixel 9 Pro vs Samsung Galaxy S25 Ultra: Camera Comparison Review
-
 Gaming2 years ago
The Criterion Collection announces November 2024 releases, Seven Samurai 4K and more
-
 Gadgets10 months ago
Fallout Season 2 Potential Release Date, Cast, Plot and News