
Gadgets
3 tricks I use to make big screen gaming with my ROG Ally X effortless
Summary
- Connecting the ROG Ally X to a TV is straightforward through an HDMI-to-USB-C cable or a dock.
- Docking tips: set game resolution, use FSR for better performance, and connect controllers.
- Setup as many settings as possible before you connect the ROG Ally X to your display (like connecting a Bluetooth controller, for example).
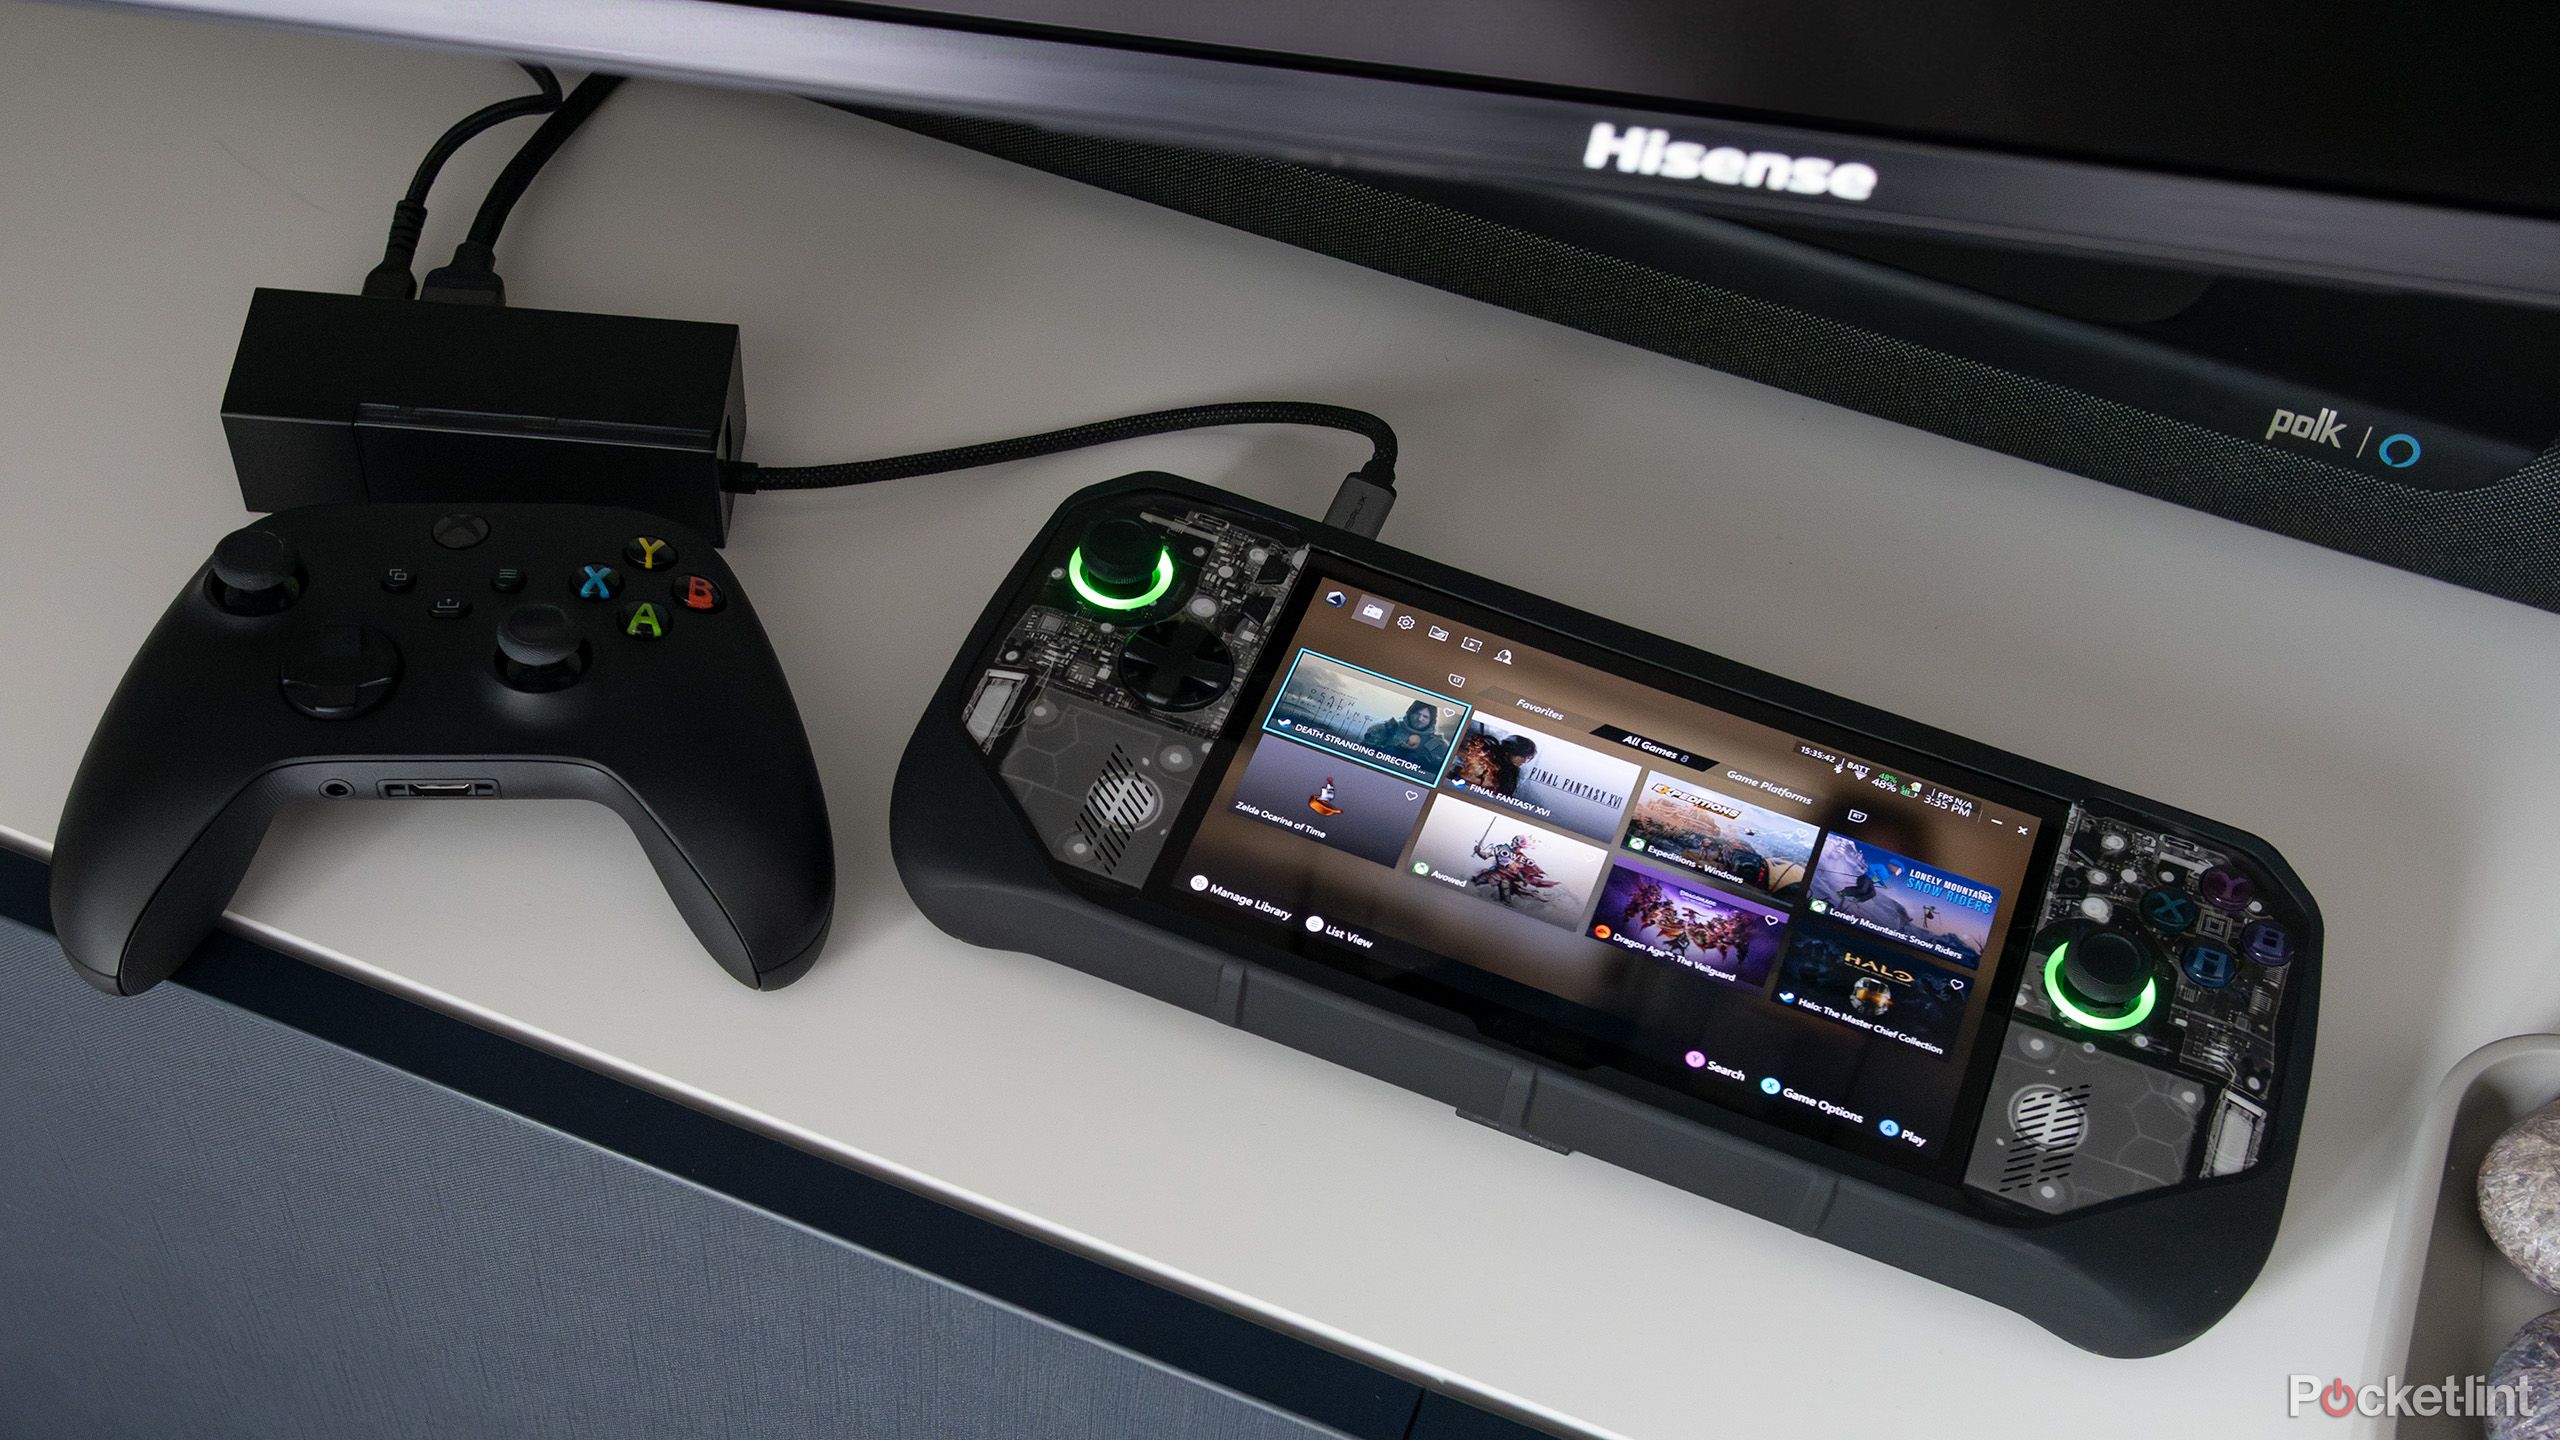
One of the best things about handhelds like Asus’ ROG Ally X and the Steam Deck OLED are how they allow you to connect them to a television or monitor. While the process of connecting the Steam Deck is very Switch-like and straightforward, things get a little more complicated when it comes to my ROG Ally X, given that it’s powered by Windows 11.
With that in mind, I’ve come up with a few tips and tricks to streamline things, including easily connecting a controller, setting the resolution, making sure my dock is charging my ROG Ally X, and more.

Related
This $35 accessory turned my ROG Ally X into my main gaming device
Jsaux’s 6-in-1 Multifunctional Docking Station is one of the most full-featured, cost-effective handheld game console docks available
1 Invest in a dock or a compatible HDMI-to-USB-C cable
These adapters range significantly in terms of price and features

If you want to take the straightforward route, you can connect the ROG Ally X directly to your TV or monitor with an HDMI-to-USB-C adapter. I actually do this in my basement office when I want to play the handheld on my monitor, though the cable I use is USB-C-to-DisplayPort, which gives me access to higher resolutions and refresh rates like 4K/120Hz.
This is the same cable I use to connect my M3 Pro Max MacBook Pro to my 144Hz-capable LG Ultragear 27GP950-B monitor, so it’s already connected to my monitor, making it very convenient. That said, because I’m not using a dock, I also need to plug a USB-C power cable into the ROG Ally X (this means I don’t have any additional ports to connect a mouse and keyboard if I need to, unless I ditch Logitech’s dongle system and use Bluetooth). Given the handheld has two USB-C ports, this is really easy to do compared to the Steam Deck, which requires some sort of USB-C dock or dongle to make this happen, since it only has one USB-C port.

JSAUX 6-in-1 Multifunctional Docking Station
$35 $46 Save $11
As far as handheld docks go, the Jsaux 6-in-1 is one of the best out there thanks to its HDMI 2.1 port, two USB-A ports, single USB-C port, Ethernet, and 100W power passthrough.
When I want to game on the TV in my living room with my ROG Ally X, which is something I’ve been doing pretty often lately as I work towards finishing Death Stranding before Death Stranding 2 releases in a few months, I rely on Jsaux’s 6-in-1 Multifunctional Docking Station with its pass-through power plugged into the ROG 140W USB-C GaN charger. Of course, I can accomplish the same thing with the USB-C-to-DisplayPort cable I use in my office, but I appreciate the dock’s convenience since it’s always sitting there and ready to go. It also makes it easy to move the ROG Ally X between my office monitor and my living room TV since I have two easy-to-access setups. As a bonus, using the dock gives me access to additional USB ports if I want to use my mouse or keyboard with my ROG Ally X, though I rarely do this in my living room.

Related
The ROG Ally X is great, but the Steam Deck OLED easily beats it in 4 key ways
I like the ROG Ally X, but when it comes to on-the-go gaming, I find myself turning to the Steam Deck OLED – here’s why.
2 Follow these steps to connect your ROG Ally X to a display with a cable or dock
Check out these straightforward step-by-step instructions

If you’re looking for straightforward instructions, don’t worry, I have your back. It’s a simple process, but if you’re unfamiliar with the wild world of cable adapters and docks, it can quickly get confusing. Below are all the steps you need to take to connect your ROG Ally X to your TV or monitor:
- Plug your HDMI-to-USB-C cable into one of the ROG Ally X’s USB-C ports (if you want to keep your ROG Ally X charged, make sure you have a power cable plugged into its other port). If you’re using a dock, plug the video out USB-C cable into either of the ROG Ally X’s USB-C ports.
- Connect the other end of the HDMI cable to your TV or monitor. If you’re using a dock like Jsaux’s Multifuctional Docking Station, make sure you have your TV or monitor’s HDMI cable plugged into the correct input.
- If you’ve done everything correctly, the ROG Ally X should automatically connect to your TV/monitor, and you’ll see the Windows login screen (the display on the ROG Ally X will typically flash once before moving to your external monitor). If you have a passcode or fingerprint set for your handheld, you’ll need to type that in (I often go through this step before connecting the ROG Ally X to my display).
- Next, tap the Armory Crate SE button to launch the ROG Ally X’s unified user interface app. You can now select the game you want to launch, and you’re ready to game away on the big screen.
If you want 4K/120Hz output as an option, make sure you’re using an HDMI 2.0 cable, or, like me in my basement office, an HDMI-to-DisplayPort cable. Also, ensure you’re plugging your HDMI 2.0 cable into a 4K/120Hz compatible HDMI 2.1 port on your TV. With my
Hisense U8H Mini-LED TV
, this is port three or four.


5 Amazing Benefits Of Stacking Toy

Nordic founders are taking bigger swings, and it’s paying off

5 Apps To Speed Up Your Google TV Device

Trump threatens ABC News for reporter’s questions on his family business in Saudi Arabia, Khashoggi’s murder and Epstein files

The Best Sunglasses for Travel + Must Have Accessories » Local Adventurer » Travel Adventures in Las Vegas + World Wide

This Silent Habit Might Be Sabotaging Your Career

The Four Types of Happiness: Which One Are You Living In?

Halloween Events in London 2025

Join the peaceful demonstrations for democracy

Cute and Thankful Sayings for the People You Love

Croatia to reintroduce compulsory military draft as regional tensions soar

Singapore Airlines CEO set to join board of Air India, BA News, BA

Supernatural Season 16 Revival News, Cast, Plot and Release Date

How Your Contact Center Can Become A Customer Engagement Center

Bangladeshi police agents accused of selling citizens’ personal information on Telegram
Google Pixel 9 Pro vs Samsung Galaxy S25 Ultra: Camera Comparison Review

The Criterion Collection announces November 2024 releases, Seven Samurai 4K and more

Fallout Season 2 Potential Release Date, Cast, Plot and News

15 of the Best Trike & Tricycles Mums Recommend

17 Signs You Travel A Lot
-
 Breaking News2 years ago
Croatia to reintroduce compulsory military draft as regional tensions soar
-
 Destination1 year ago
Singapore Airlines CEO set to join board of Air India, BA News, BA
-
 Gadgets1 year ago
Supernatural Season 16 Revival News, Cast, Plot and Release Date
-
 Productivity2 years ago
How Your Contact Center Can Become A Customer Engagement Center
-
 Tech News2 years ago
Bangladeshi police agents accused of selling citizens’ personal information on Telegram
-

 Gadgets10 months ago
Google Pixel 9 Pro vs Samsung Galaxy S25 Ultra: Camera Comparison Review
-
 Gaming2 years ago
The Criterion Collection announces November 2024 releases, Seven Samurai 4K and more
-
 Gadgets10 months ago
Fallout Season 2 Potential Release Date, Cast, Plot and News